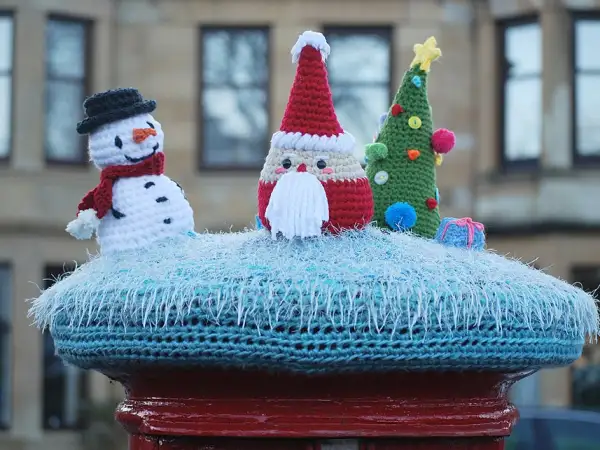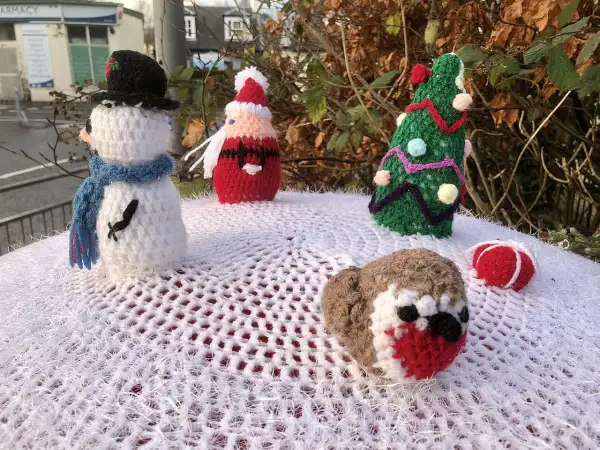
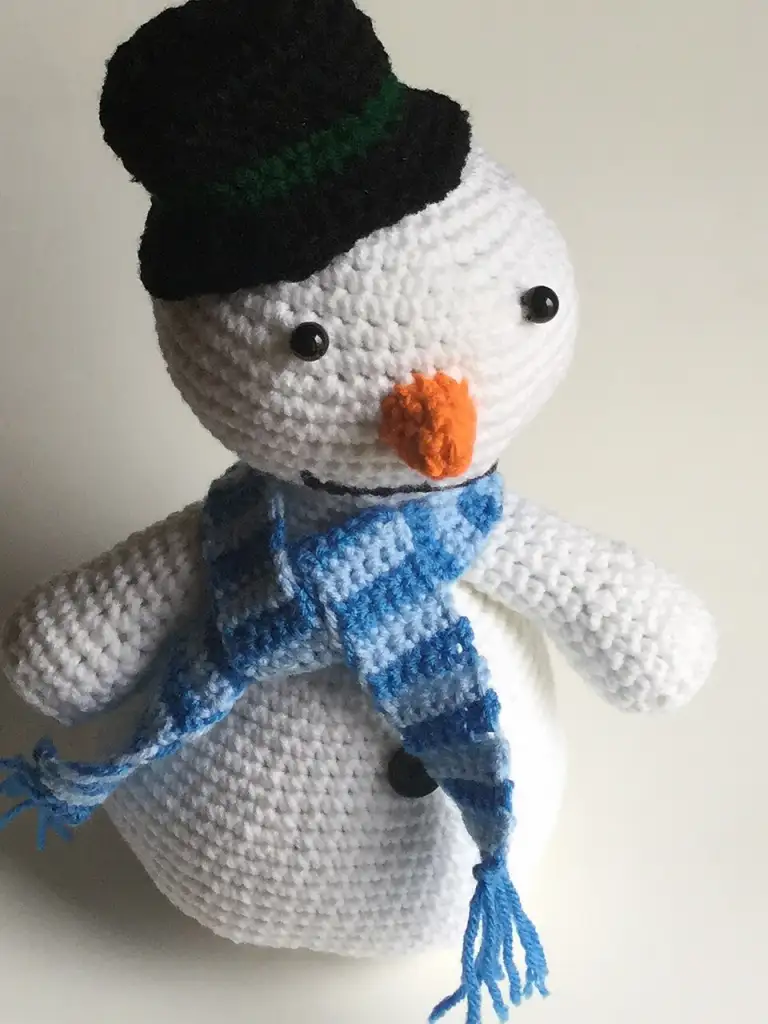
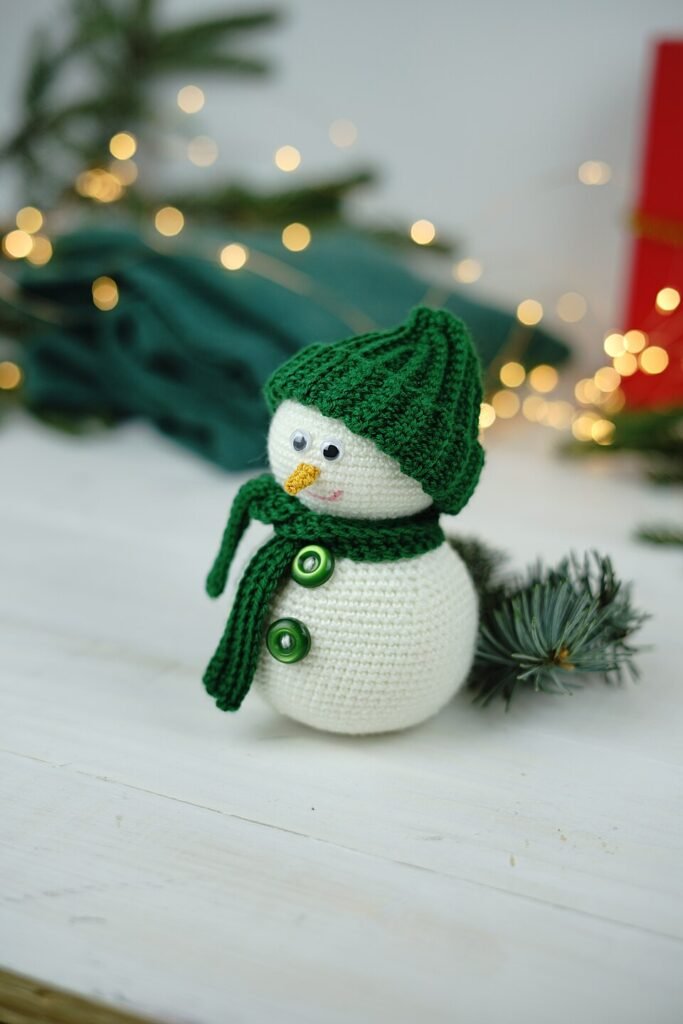
This crochet snowman is a chubby little amigurumi made from stacked balls, with a carrot nose, a striped or plain scarf and your choice of a top hat or a cosy beanie. It is written in UK terms and worked in double crochet in a spiral, with a stitch count at the end of every round.
Quick answer: This crochet snowman is an easy amigurumi made from stacked balls worked in double crochet spirals (UK terms), with a carrot nose, a scarf and a top hat or beanie. Use white DK yarn and a 3mm to 3.5mm hook; the three-ball snowman is about 12 to 14cm tall and takes 3 to 4 hours. A quick flat snowman ornament takes under an hour.
The bottom ball has an optional flat, weighted base so your snowman stands up on a shelf. At the end we also share a quick flat crochet snowman you can hang on the tree or sew onto a stocking as an appliqué.
Why make a crochet snowman?
A snowman is one of the easiest Christmas characters to crochet, because he is mostly circles and spheres. If you can make a ball in double crochet, you can make the whole body. The personality comes from the small extras: the nose, the scarf and the hat.
That makes this crochet snowman pattern ideal for practising amigurumi shaping. You will use the same increase and decrease rounds three times at three sizes, so by the time you reach the head the method feels natural. It is also a great scrap-buster for odd bits of orange, red, black and bright colours.
Amigurumi is the Japanese name for small crocheted or knitted stuffed figures, and you can read more about its history on Wikipedia’s amigurumi page.
Crochet snowman pattern at a glance
| Detail | Information |
|---|---|
| Skill level | Easy (basic amigurumi) |
| Yarn | DK in white or cream, plus scraps of orange, black, red or any scarf and hat colours, and a little brown |
| Hook | 3.5mm (UK 9, US E-4), or 3mm for a firmer fabric |
| Finished size | About 12 to 14cm tall with three balls, depending on tension |
| Time | 3 to 4 hours |
| Techniques | Magic ring, dc in a spiral, inc, dc2tog, back and front loop only |
Materials for your crochet snowman
- White or cream DK yarn: around 30 to 40g for a three-ball snowman. A soft acrylic or cotton blend both work well.
- Scraps: orange for the nose, black or dark grey for the top hat, a bright colour or two for the scarf and beanie, and brown for the optional arms.
- Hook: 3.5mm, or one size smaller than your yarn label suggests so the stuffing does not show.
- Toy stuffing: polyester toy filling that meets toy safety standards.
- Optional weight: plastic stuffing pellets or clean aquarium gravel, sealed inside a small zip bag or a knotted piece of old tights.
- Eyes and buttons: black yarn or embroidery thread. Safety eyes of about 6mm are an option for decorations only.
- Tools: stitch marker, tapestry needle and scissors.
Abbreviations (UK terms with US equivalents)
| UK abbreviation | Meaning | US equivalent |
|---|---|---|
| ch | chain | ch (chain) |
| ss | slip stitch | sl st (slip stitch) |
| dc | double crochet | sc (single crochet) |
| inc | 2 dc in the same stitch | 2 sc in the same stitch |
| dc2tog | double crochet 2 stitches together | sc2tog (single crochet decrease) |
| BLO / FLO | back loop only / front loop only | BLO / FLO |
| MR | magic ring | magic ring |
| st(s) | stitch(es) | st(s) |
“dc 3” means 1 dc into each of the next 3 stitches. Instructions in brackets are repeated the number of times shown, and the number in brackets at the end of the round is your stitch count. If you usually follow US patterns, our UK vs US crochet terms guide explains the switch.
Tips before you start your crochet snowman
- Use a magic ring for every ball, so the ends close neatly. Our magic ring tutorial shows you how.
- Work in a continuous spiral. Do not join rounds. Mark the first stitch of each round and move the marker up every time.
- Keep the fabric tight. White yarn shows gaps easily, so a smaller hook gives a smoother snowman.
- Stuff firmly and evenly. Add stuffing in small pieces and shape each ball with your hands before closing it.
- Leave long tails on every ball and accessory for sewing up.
Crochet snowman bottom ball with a flat weighted base
This is the largest ball of the crochet snowman. Use white or cream yarn.
Rnd 1: Make a magic ring, 6 dc into the ring and pull closed (6).
Rnd 2: inc in each st around (12).
Rnd 3: (dc 1, inc) 6 times (18).
Rnd 4: (dc 2, inc) 6 times (24).
Rnd 5: (dc 3, inc) 6 times (30).
Rnd 6: (dc 4, inc) 6 times (36).
Rnd 7: working in back loops only, dc in each st around (36).
Rnds 8 to 12: dc in each st around (36). That is 5 rounds.
Rnd 13: (dc 4, dc2tog) 6 times (30).
Rnd 14: (dc 3, dc2tog) 6 times (24).
Rnd 15: (dc 2, dc2tog) 6 times (18).
Rnd 16: (dc 1, dc2tog) 6 times (12).
Now add the weight and stuffing (see below).
Rnd 17: dc2tog 6 times (6).
Fasten off, leaving a long tail. Thread it through the front loops of the last 6 stitches and pull closed.
Flat base and weighting
Working Rnd 7 in the back loops leaves a little ridge that turns the first 6 rounds into a flat disc. That is the base. If you would rather have a perfectly round ball, work Rnd 7 through both loops as normal. The stitch count stays at 36 either way.
To weight the base, put a small sealed bag of stuffing pellets or gravel flat against the inside of the base after Rnd 16, then stuff firmly around and above it. The weight keeps your crochet snowman upright on a shelf. Always seal the pellets inside a bag or tights so nothing can escape through the stitches.
Middle ball of the crochet snowman
Skip this ball if you want a shorter, two-ball crochet snowman.
Rnd 1: Make a magic ring, 6 dc into the ring and pull closed (6).
Rnd 2: inc in each st around (12).
Rnd 3: (dc 1, inc) 6 times (18).
Rnd 4: (dc 2, inc) 6 times (24).
Rnd 5: (dc 3, inc) 6 times (30).
Rnds 6 to 10: dc in each st around (30). That is 5 rounds.
Rnd 11: (dc 3, dc2tog) 6 times (24).
Rnd 12: (dc 2, dc2tog) 6 times (18).
Rnd 13: (dc 1, dc2tog) 6 times (12). Stuff firmly.
Rnd 14: dc2tog 6 times (6).
Fasten off with a long tail and close the hole as before.
Crochet snowman head
Rnd 1: Make a magic ring, 6 dc into the ring and pull closed (6).
Rnd 2: inc in each st around (12).
Rnd 3: (dc 1, inc) 6 times (18).
Rnd 4: (dc 2, inc) 6 times (24).
Rnds 5 to 8: dc in each st around (24). That is 4 rounds.
Rnd 9: (dc 2, dc2tog) 6 times (18).
Rnd 10: (dc 1, dc2tog) 6 times (12).
If you are using safety eyes, fit them now, between Rnds 6 and 7 and about 4 stitches apart. Then stuff the head firmly.
Rnd 11: dc2tog 6 times (6).
Fasten off with a long tail and close the hole. The magic ring end is the top of the head, where the hat will sit.
Carrot nose
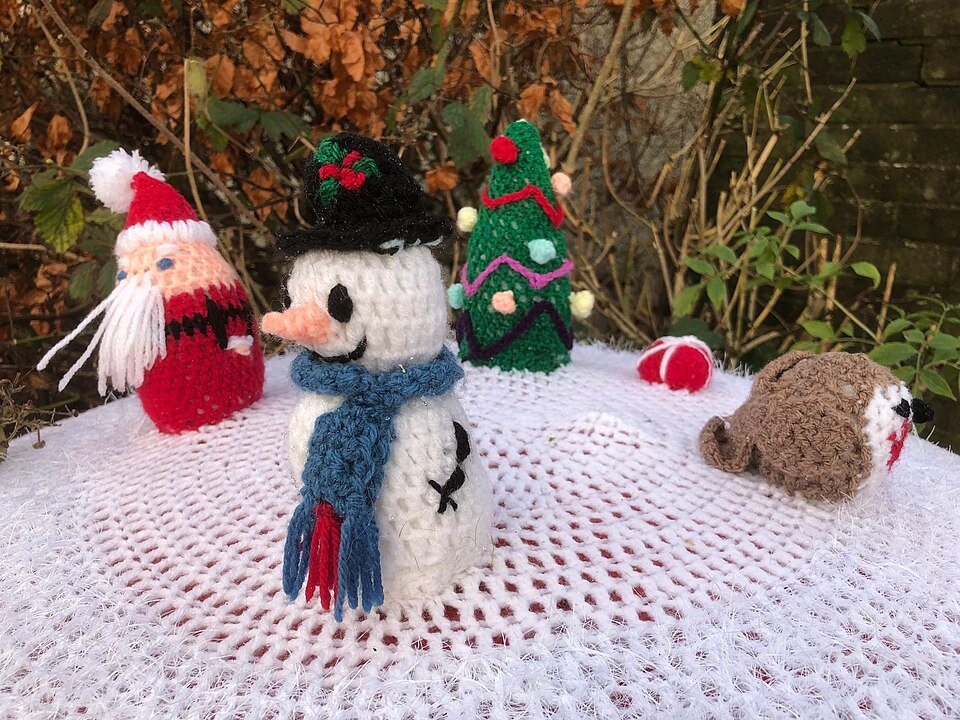
The crochet snowman nose is a tiny cone worked in orange. It does not need stuffing.
Rnd 1: Make a magic ring, 4 dc into the ring and pull closed (4).
Rnd 2: dc in each st around (4).
Rnd 3: (dc 1, inc) 2 times (6).
Rnd 4: dc in each st around (6).
Fasten off with a long tail. The magic ring is the pointed tip, and the open end is sewn flat to the face.
Scarf: a simple chain and dc strip
Use any bright colour for your crochet snowman scarf, or change colour every row for stripes.
Foundation: ch 41.
Row 1: dc in the 2nd ch from the hook and in each ch to the end (40).
Rows 2 and 3: ch 1 (does not count as a stitch), turn, dc in each st to the end (40).
Fasten off. For fringe, cut six 5cm lengths of yarn, fold each in half and knot three into each short end. Trim them level.
If you enjoy making the mini version, our full-size crochet scarf pattern uses the same simple idea at human scale.
Hats for your crochet snowman
Top hat
Work in black or dark grey.
Rnd 1: Make a magic ring, 6 dc into the ring and pull closed (6).
Rnd 2: inc in each st around (12).
Rnd 3: (dc 1, inc) 6 times (18).
Rnd 4: working in back loops only, dc in each st around (18). This turns the edge to make the flat top.
Rnds 5 to 7: dc in each st around (18).
Rnd 8 (brim): working in front loops only, (dc 1, inc) 9 times (27).
Rnd 9: dc in each st around (27). Ss into the next st and fasten off with a long tail.
Stuff the crown lightly so it keeps its shape. For a hat band, ch enough red or green to fit around the base of the crown, and sew it in place.
Beanie with a bobble
Rnd 1: In the main hat colour, make a magic ring, 6 dc into the ring (6).
Rnd 2: inc in each st around (12).
Rnd 3: (dc 1, inc) 6 times (18).
Rnd 4: (dc 2, inc) 6 times (24).
Rnds 5 to 7: dc in each st around (24).
Rnds 8 and 9: change to the brim colour, dc in each st around (24). Ss into the next st and fasten off with a long tail.
Bobble: Make a magic ring, 6 dc into the ring (6). Next rnd: inc in each st around (12). Next rnd: dc in each st around (12). Push in a tiny scrap of yarn, then dc2tog 6 times (6). Fasten off, close and sew to the top of the beanie.
The beanie is 24 stitches round, the same as the widest part of the head, so it sits snugly over the top half.
Optional arms
With brown yarn, ch 7, then ss in the 2nd ch from the hook and in each ch to the end (6 ss). Make 2. For a twiggy look, make a short ch 3 strip and sew it to each arm at an angle. Avoid real twigs, which can be sharp and brittle.
Assembling your crochet snowman
- Stack the balls. Place the middle ball on top of the bottom ball, with the closed ends touching. Sew round in a circle about 2cm across, pulling gently so the balls flatten slightly against each other. Repeat to attach the head.
- Add the face. Embroider two eyes with small French knots or a few straight stitches, if you did not use safety eyes. Sew the carrot nose just below and between the eyes, pointing outwards.
- Add buttons. Embroider two or three French knots down the front of the middle ball.
- Put on the hat. Sew the top hat or beanie to the top of the head, slightly tilted if you like.
- Tie the scarf around the neck join, crossing the ends at the front, and tack it with a stitch or two.
- Sew on the arms at the sides of the middle ball.
- Weave in all ends by running them through the body and trimming close.
Now step back and admire your finished crochet snowman. Tilting the head or the hat a little gives him a cheeky look.
Quick flat crochet snowman ornament or appliqué
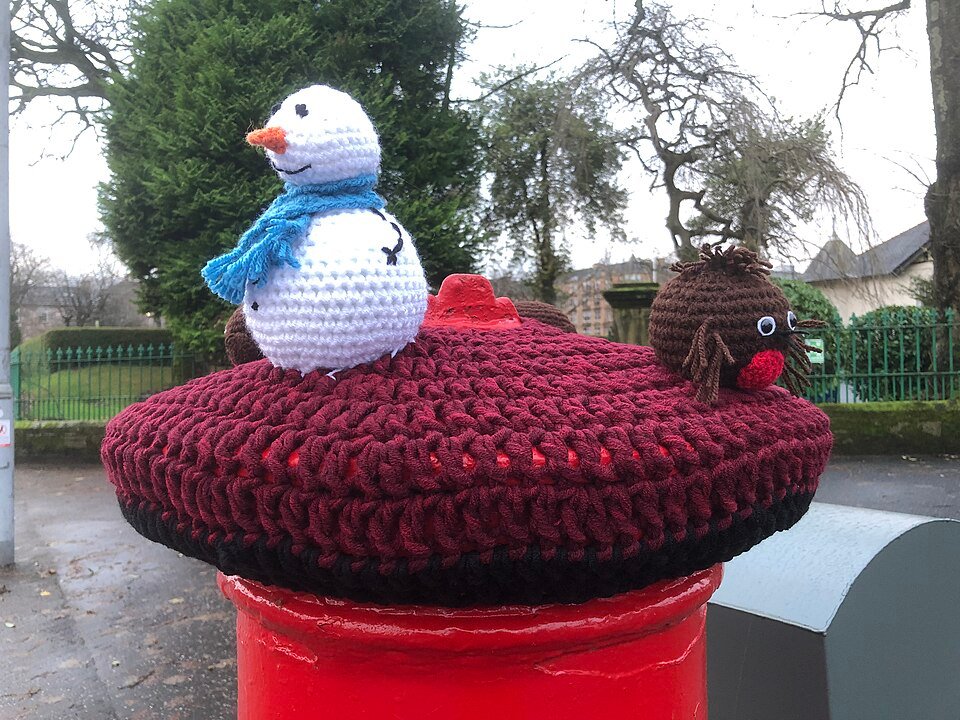
Short of time? This flat crochet snowman takes well under an hour. It is worked in joined rounds, so the edges stay neat for appliqué.
Body circle (white):
Rnd 1: Make a magic ring, ch 1, 6 dc into the ring, ss into the first dc to join (6).
Rnd 2: ch 1, inc in each st around, ss into the first dc (12).
Rnd 3: ch 1, (dc 1, inc) 6 times, ss into the first dc (18).
Rnd 4: ch 1, (dc 2, inc) 6 times, ss into the first dc (24). Fasten off.
Head circle (white): Work Rnds 1 to 3 as for the body (18). Fasten off.
Hat crown (black): ch 5. Row 1: dc in the 2nd ch from the hook and in each ch to the end (4). Rows 2 to 4: ch 1, turn, dc in each st (4). Fasten off.
Hat brim (black): ch 8. Row 1: dc in the 2nd ch from the hook and in each ch to the end (7). Fasten off.
Making up: Overlap the head onto the body by about one round and sew together. Sew the brim across the top of the head and the crown centred above it. Embroider the eyes, a small orange nose in satin stitch and button French knots. Wrap a ch 20 scarf around the neck and stitch it down.
To hang it, add a loop of yarn to the top of the hat. For a sturdier ornament, make two of every piece and whip stitch them back to back. As an appliqué, sew a single layer onto the cuff of our crochet Christmas stocking.
Safety note: small parts
Safety eyes, buttons, beads, pellets and hanging loops can all be a choking or tangling risk for babies and young children. If your crochet snowman is meant as a toy for a small child, embroider every feature with yarn, leave out the pellets and use only toy stuffing, and skip the hanging loop.
Sew the nose, hat and arms on very securely and check them regularly for wear. Weighted and ornament versions are best treated as decorations and kept out of reach of little hands.
Ideas to vary your crochet snowman
- Snow family: make a two-ball snowman with only the middle ball and head for a smaller companion.
- Snow lady: add a beanie with a bobble, a long fringed scarf and embroidered pink cheeks.
- Earmuffs: make two tiny bobbles and join them with a chain across the top of the head.
- Bigger snowman: work the same rounds in chunky yarn with a 5mm hook. The stitch counts are unchanged and he simply comes out larger.
More festive makes
Our crochet gonk uses very similar amigurumi shaping and looks great standing beside your crochet snowman. For the tree, try our crochet angel, which shares the same small ball for its head.
Frequently asked questions about crochet snowman
Is this crochet snowman pattern suitable for beginners?
Yes, if you are comfortable with a magic ring and double crochet in a spiral. The only shaping is increasing and dc2tog decreasing, and every round has a stitch count so you can check as you go.
How do I make my crochet snowman stand up?
Work Rnd 7 of the bottom ball in the back loops only to make a flat base, then put a small sealed bag of pellets or gravel inside before stuffing. The weight keeps him steady.
What yarn is best for a snowman?
A smooth DK in white or cream shows the shaping well. Use a slightly smaller hook than usual so the fabric is firm and the stuffing does not show through.
Is it safe to give to a baby or toddler?
Only if you embroider all the features, leave out the pellets, beads and hanging loop, and sew every part on very securely. Otherwise treat it as a decoration and keep it out of reach.
How long does it take to make?
The three-ball amigurumi version usually takes three to four hours including sewing up. The flat ornament can be finished in under an hour.