This free crochet chicken pattern makes a plump little amigurumi hen with a bright red comb, a tiny beak and two flat wings. It is worked in simple double crochet in continuous spiral rounds, so if you can make a magic ring and work an increase, you can make a whole flock.
At a glance: Yarn and hook: DK yarn and a 3mm to 3.5mm (UK 11 to 9) hook (US D-3 to E-4). Time: about 2 to 3 hours. Terms: UK, with US conversions.
The crochet chicken pattern is written in UK and US terms: we use UK terms first, with the US equivalent in brackets the first time each stitch appears. Every round has its stitch count in brackets, so it is easy to check you are on track. Once you have the basic crochet chicken, you can turn it into a chick, an Easter chick, a rooster or a festive chicken in a hat.
Why you will love this crochet chicken pattern
This crochet chicken pattern is one of the most cheerful small projects you can hook up. The body is a simple egg shape, so there is no tricky shaping, no separate legs and no fiddly joining of limbs. Most of the character comes from the little red comb and wattle.
- Beginner friendly. The whole crochet chicken pattern uses only a magic ring, double crochet, increases, decreases and a few slip stitches.
- Quick to make. One hen from this crochet chicken pattern is a relaxed evening project for most people, and the small parts are lovely for using up scraps.
- Easy to change. Swap colours, add a hat or make the comb bigger and you have a new character.
- Useful all year. It works as an Easter decoration, a keyring, a shelf ornament or a small handmade gift.
If you enjoy little stuffed toys, take a look at our collection of crochet animals for more ideas in the same friendly style.
Materials for the crochet chicken pattern
You do not need anything special for this crochet chicken pattern. The list below is for a DK (double knitting) hen. Any smooth yarn works, but cotton and acrylic both give clear stitches that make the spiral easy to see.
- Main colour: DK yarn in white, cream, brown or yellow for the body and wings. A small ball or a generous leftover is plenty.
- Red DK: a small amount for the comb and wattle.
- Orange or yellow DK: a small amount for the beak.
- Black yarn or embroidery thread for the eyes, or two small safety eyes (see the safety notes below).
- Hook: 3mm or 3.5mm (US D-3 or E-4). Go a little smaller than the ball band suggests so the fabric is firm and the stuffing does not show through.
- Toy stuffing: polyester toy filling marked as suitable for toys.
- Extras: a stitch marker, a tapestry needle and scissors.
Not sure which hook to grab? Our guide to crochet hooks explains sizes, materials and grips. If you are new to stuffed crochet toys, the Wikipedia overview of amigurumi is useful background on where the style comes from.

Sizes: DK or chunky crochet chicken
The finished size of any crochet chicken pattern depends on your yarn, your hook and how tightly you crochet, so treat these numbers as a rough guide only.
| Yarn | Hook | Approximate finished height |
|---|---|---|
| DK | 3mm to 3.5mm (US D-3 to E-4) | about 9cm to 10cm |
| Aran | 4mm to 4.5mm (US G-6 to 7) | about 11cm to 12cm |
| Chunky | 5.5mm to 6mm (US I-9 to J-10) | about 13cm to 15cm |
A DK hen is a good size for a shelf or an Easter basket. For a keyring, use a 4ply (fingering) yarn with a 2.5mm hook and you will get a much smaller bird. A chunky crochet chicken is quick and squishy, and is the easiest version to make if you find small stitches hard to see.
Abbreviations: UK and US terms
This crochet chicken pattern is written in UK terms. If you usually follow US patterns, the table below shows the matching names. Our UK vs US crochet terms guide has a full conversion chart.
| UK term | US term | Meaning |
|---|---|---|
| ch (chain) | ch (chain) | chain stitch |
| ss (slip stitch) | sl st (slip stitch) | slip stitch |
| dc (double crochet) | sc (single crochet) | the main stitch for the whole body |
| htr (half treble) | hdc (half double crochet) | used in the wattle and tail |
| tr (treble) | dc (double crochet) | used in the comb and tail |
| inc | inc | 2 dc (US sc) in the same stitch |
| dc2tog | sc2tog | double crochet two stitches together (a decrease) |
| st(s) | st(s) | stitch(es) |
Numbers in brackets at the end of each round, such as (18), tell you how many stitches you should have once that round is finished.
How the crochet chicken pattern is worked
In this crochet chicken pattern the body is worked from the bottom up in continuous spiral rounds. That means you do not join with a slip stitch or chain at the end of each round. You simply carry on into the first stitch of the next round.
- Place a stitch marker in the first stitch of each round and move it up as you go. Without it, it is very easy to lose count in a spiral.
- Start with a magic ring so the bottom of the chicken closes up tightly with no hole. Our step-by-step guide on how to do a crochet magic ring shows you how.
- Work through both loops of each stitch unless the pattern says otherwise.
- Crochet firmly. Amigurumi needs a tighter fabric than a blanket or a scarf.
Free crochet chicken pattern: the body
For this part of the crochet chicken pattern, use your main colour and your smaller hook. The increase rounds build the round base, the straight rounds give the hen her height, and the decrease rounds close the top into a soft egg shape.
Increase rounds
- Round 1: Make a magic ring. Work 6 dc (US sc) into the ring and pull the tail to close. (6)
- Round 2: Inc in each st around. (12)
- Round 3: *1 dc in next st, inc in next st; repeat from * 5 more times. (18)
- Round 4: *1 dc in each of next 2 sts, inc in next st; repeat from * 5 more times. (24)
- Round 5: *1 dc in each of next 3 sts, inc in next st; repeat from * 5 more times. (30)
Each increase round adds 6 stitches, so your counts should run 6, 12, 18, 24, 30. If your count is out, check the last round before you go any further.
Straight rounds
- Rounds 6 to 15: 1 dc in each st around. (30) That is 10 rounds without any increases.
The sides will start to rise up like a little cup. You can add the eyes now if you are using safety eyes, because you cannot reach inside once the body is closed.
Decrease rounds
- Round 16: *1 dc in each of next 3 sts, dc2tog (US sc2tog); repeat from * 5 more times. (24)
- Round 17: 1 dc in each st around. (24)
- Round 18: *1 dc in each of next 2 sts, dc2tog; repeat from * 5 more times. (18) Stuff the body firmly now, pushing the filling into the base so the chicken stands up.
- Round 19: *1 dc in next st, dc2tog; repeat from * 5 more times. (12) Add a little more stuffing to fill the top.
- Round 20: Dc2tog 6 times. (6)
Fasten off, leaving a tail. Thread the tail onto a tapestry needle, weave it through the front loop of each of the last 6 stitches and pull tight to close the hole. Push the needle down through the body and snip the end so it hides inside.
Round 17 is an extra straight round that gives the top a gentle egg shape rather than a flat dome. Each decrease round takes away 6 stitches, so the counts run 30, 24, 18, 12, 6.
Crochet chicken pattern parts: comb, wattle, beak and wings
All of the small parts in this crochet chicken pattern are flat or tiny, so there is nothing else to stuff. Leave a long tail on each piece for sewing.
Comb (red)
Ch 8. Starting in the 2nd ch from the hook: ss in next ch, *5 tr (US dc) in next ch, ss in next ch; repeat from * 2 more times. (3 scallops) Fasten off, leaving a long tail.
You will have three little rounded bumps sitting on a line of chains. If your scallops look too big for a DK hen, work 5 htr (US hdc) instead of 5 tr in each one. If you need a reminder of how to work the slip stitches, see our guide to slip stitch crochet.
Wattle (red)
Ch 4. Starting in the 2nd ch from the hook: 1 dc in next ch, 1 htr in next ch, 3 tr in last ch. Now work along the other side of the chain: 1 htr in next ch, 1 dc in next ch. (7) Ss into the same ch as the first dc and fasten off, leaving a tail.
This makes a small teardrop shape. It hangs just under the beak.
Beak (orange or yellow)
- Round 1: Make a magic ring. Work 4 dc into the ring and pull closed. (4)
- Round 2: *1 dc in next st, inc in next st; repeat from * once more. (6)
- Round 3: 1 dc in each st around. (6)
Ss into the next st and fasten off, leaving a tail. The beak is a tiny cone and does not need stuffing.
Wings (main colour, make 2)
- Round 1: Make a magic ring. Work 6 dc into the ring and pull closed. (6)
- Round 2: Inc in each st around. (12)
- Round 3: *1 dc in next st, inc in next st; repeat from * 5 more times. (18)
Ss into the next st and fasten off, leaving a long tail. Fold each flat circle in half to make a semicircle. The fold is the top edge of the wing.
Optional tail feathers (main colour or a contrast, make 3)
Ch 8. Starting in the 2nd ch from the hook: ss in next ch, 1 dc in each of next 2 ch, 1 htr in each of next 2 ch, 1 tr in each of last 2 ch. (7) Fasten off, leaving a tail.
Each feather is narrow at the tip and wider at the base. Sew the wide ends to the back of the body in a little fan, with the middle feather slightly higher than the other two.
Assembling your crochet chicken: placing the features
Once all the parts of the crochet chicken pattern are made, pin every piece in place before you sew anything. Small changes in position make a big difference to the expression, so it is worth trying a few layouts.
- Eyes: between Rounds 8 and 9 on the front, about 5 stitches apart.
- Beak: centred between the eyes and about one round lower. Sew around the open edge so it points forwards.
- Wattle: directly under the beak, with the narrow end tucked up against it.
- Comb: along the top of the head, running from the front of the head towards the back, with the chain edge sewn down and the scallops standing up.
- Wings: one on each side, roughly between Rounds 9 and 14, with the fold at the top and the curve pointing back.
- Tail: on the back, opposite the beak, a little above the widest part of the body.
Sew with small, neat stitches through the body fabric, going back and forth a few times. Hide every end by pulling it through the stuffing and trimming it close.

Embroidered eyes or safety eyes?
Both work well with this crochet chicken pattern, and the choice mostly depends on who the hen is for.
Embroidered eyes are made with black yarn or embroidery thread. Work a few small straight stitches over one or two crochet stitches, or a French knot for a tiny bead-like eye. They can be added after stuffing and look soft and gentle.
Safety eyes have a plastic back that clicks on inside the toy. They give a neat, shiny look, but they must go in before you close the body, and the backs must be pushed on firmly.
Toy safety for children under 3
If a hen made from this crochet chicken pattern is for a baby or a child under 3, always embroider the eyes and avoid safety eyes, buttons, beads, bells and pompoms, as small parts can come loose and be a choking hazard. Keep these points in mind too:
- Use a firm tension so stuffing cannot be pulled out between stitches.
- Sew every part on very securely and check the seams by giving them a tug.
- Skip long ribbons, cords and keyring clips on a toy meant for a young child.
- Check the toy regularly and repair or retire it if anything works loose.
Keyrings and hanging decorations are best kept for older children and adults.
Crochet chicken pattern variations
Once you have made the basic hen, small changes to colour and features give you a whole farmyard. These ideas all use the same crochet chicken pattern body, so your stitch counts stay the same.
Classic hen
Make the body and wings in white, cream or a warm brown. Brown hens look lovely with a slightly darker brown for the wings and tail. Keep the comb small and neat with three scallops. This is the version written out in the main crochet chicken pattern above.
Little chick
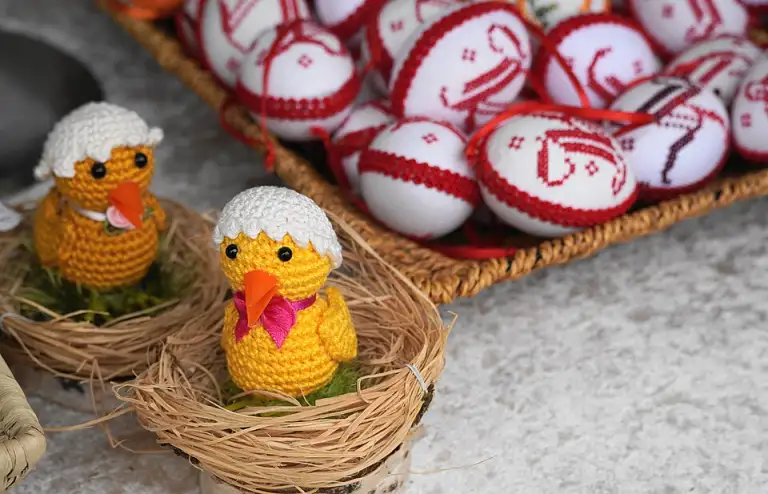
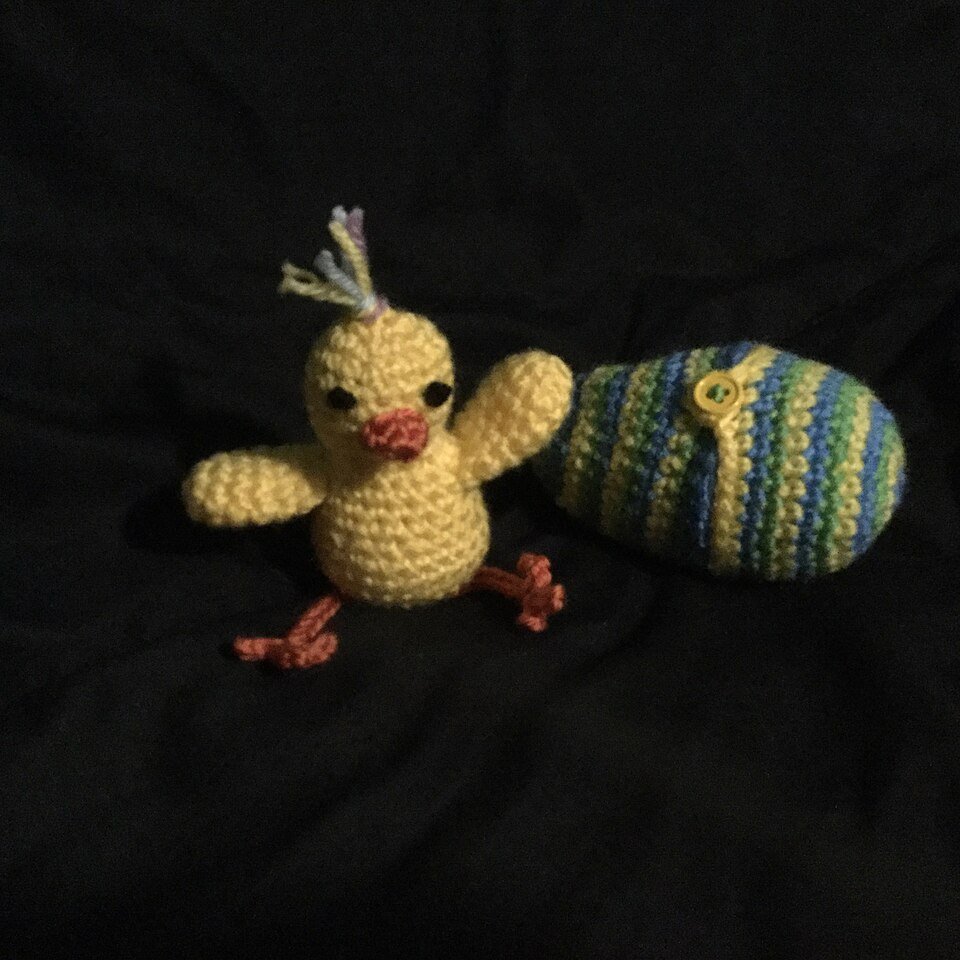
Make the whole body in yellow and leave off the comb, wattle and tail. Instead, add a small tuft on top: cut three short strands of yellow yarn, fold them in half, hook them through a stitch at the top of the head and knot them like a fringe. For a smaller chick, stop the straight section after Round 12 and then work the decrease rounds as written.
Easter chick
Make a yellow chick and then crochet half an eggshell in white. Work Rounds 1 to 5 of the body, then one more increase round: *1 dc in each of next 4 sts, inc in next st; repeat from * 5 more times. (36) Work 3 straight rounds of 1 dc in each st (36) and fasten off. The extra round makes the shell a little wider than the chick. Sit the chick inside the shell, or sew a zigzag of white stitches around its middle to look like it is hatching. A few of these in a basket make a sweet Easter table decoration.
Rooster with a bigger comb
To turn the crochet chicken pattern into a rooster, make a bigger comb with more scallops. Ch 10 and work: ss in 2nd ch from the hook, then *5 tr in next ch, ss in next ch; repeat from * 3 more times. (4 scallops) Use a longer wattle, and make the tail feathers in two or three bold colours such as dark green, rust and black.
Crochet chicken in a festive hat
For a festive crochet chicken, add a tiny pointed hat. In red, make a magic ring with 4 dc. (4) Next round: *1 dc in next st, inc in next st; repeat from * once more. (6) Next round: inc in each st around. (12) Work 2 rounds of 1 dc in each st (12), then change to white for 1 more round (12) and fasten off. Add a small yarn pompom on adult decorations only. Sew the hat at an angle in place of the comb.
A Christmas hen makes a fun little gift, and you will find more ideas like it in our guide to crochet stocking fillers.
Ways to use your crochet chicken
A finished hen is useful as well as cute. Here are some of our favourite ways to use this crochet chicken pattern.
- Easter decoration: make a few hens and chicks in pastel colours and sit them in a basket, on a mantelpiece or in a nest of shredded paper on the breakfast table.
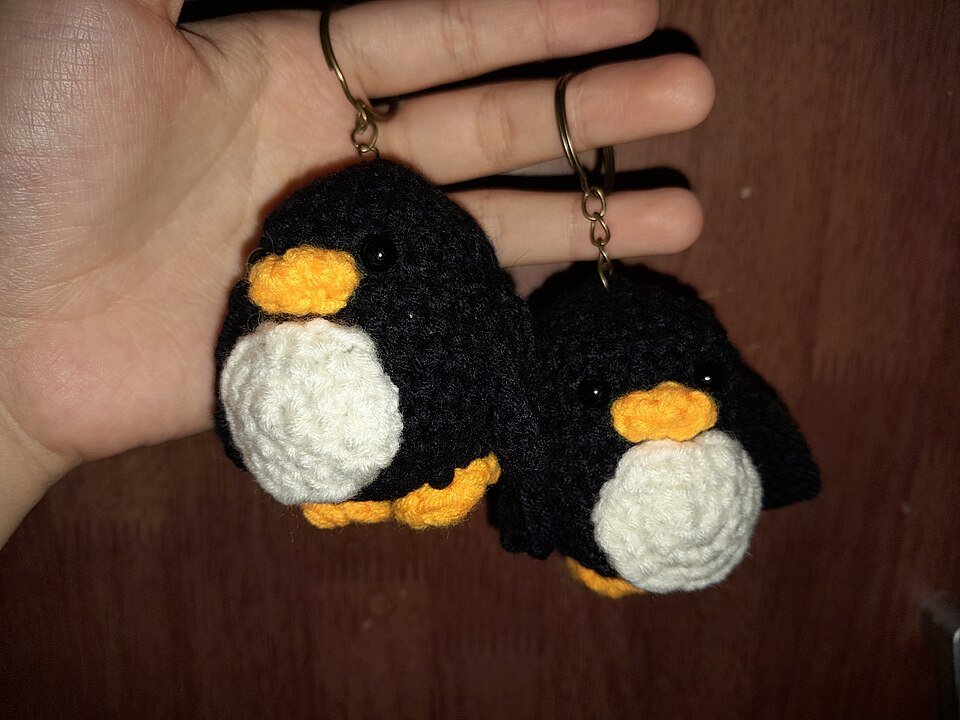
- Keyring or bag charm: work the chicken in 4ply yarn with a small hook, then sew a keyring loop or split ring securely to the top. These are for older children and adults only.
- Shelf decoration: a DK or chunky hen looks great on a kitchen shelf, a windowsill or a dresser, especially in country colours.
- Table place markers: tuck a small name card under the wing of a little hen for each guest at a spring lunch or family gathering.
- Handmade gifts: a chicken is a thoughtful present for anyone who keeps hens, loves baking or collects farmhouse decorations.
Looking for more quick makes to give away? Our list of easy crochet gifts is full of small projects that suit beginners.
Tips for a neat crochet chicken
- Count every round. The brackets in this crochet chicken pattern are there to help, so check them often.
- Use an invisible decrease. Working dc2tog through the front loops only gives a smoother finish on amigurumi.
- Stuff in small pieces. Tear the filling into small tufts so the body feels even rather than lumpy.
- Keep the right side out. In a spiral the right side faces you as you work. If the fabric curls inwards, push it the other way so the neat side is on the outside.
- Use the yarn tails. Long tails left on each small part save you threading new lengths of yarn for sewing.
Make an Easter pair with our easy crochet bunny.
Frequently asked questions about crochet chicken pattern
Is this crochet chicken pattern suitable for beginners?
Yes. It uses a magic ring, double crochet (US single crochet), simple increases and decreases and a few slip stitches. If you have made a flat circle before, you can make this hen.
Is the pattern in UK or US terms?
It is written in UK terms with US equivalents. A UK double crochet (dc) is a US single crochet (sc), a UK half treble (htr) is a US half double crochet (hdc) and a UK treble (tr) is a US double crochet (dc).
How big is the finished crochet chicken?
As a rough guide, a DK hen made with a 3mm to 3.5mm hook is about 9cm to 10cm tall, and a chunky hen made with a 6mm hook is about 13cm to 15cm tall. Your tension will change the size.
Can I make a crochet chicken for a baby?
Yes, but for children under 3 always embroider the eyes instead of using safety eyes, leave off buttons, beads and pompoms, crochet tightly and sew every piece on very securely.
How do I turn the hen into a chick?
Make the whole body in yellow, leave off the comb, wattle and tail, and add a little yarn tuft on top of the head. You can make it smaller by working fewer straight rounds before the decreases.