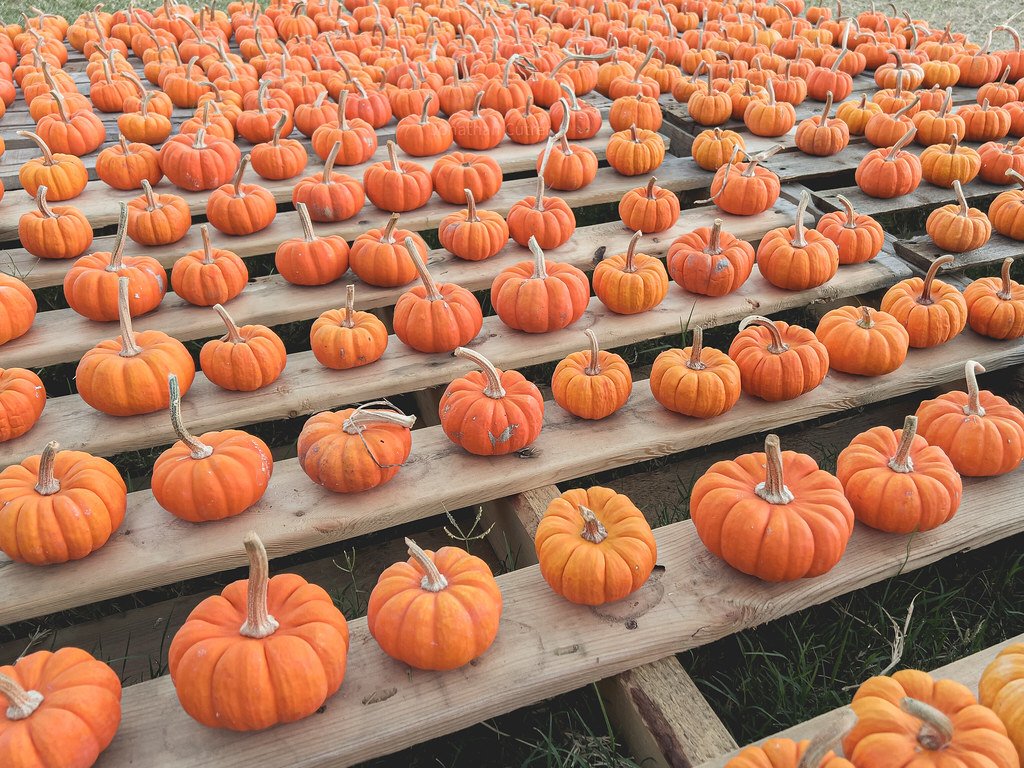
Little crochet pumpkins are one of the easiest autumn makes you can do. This pattern is worked as a flat ribbed rectangle, sewn into a tube and gathered at both ends, so there is no working in the round and no increasing. If you can make a row of double crochet, you can make a whole patch of pumpkins in an afternoon. The pattern uses UK crochet terms.
Make them in orange for Halloween, in cream and sage for a softer harvest table, or in mustard and rust for Bonfire Night and Thanksgiving displays.
What you will make
- A squat, ridged pumpkin about 8cm across with aran yarn, with a stalk and an optional leaf.
- Time: about 40 minutes for your first one, then around 30 minutes each.
Materials
- Yarn: aran weight yarn in orange (about 25m per pumpkin), plus a little brown for the stalk and green for the leaf. DK works too and gives a smaller pumpkin.
- Hook: 5mm (UK 6 / US H-8) for aran, or 4mm (UK 8 / US G-6) for DK.
- Toy stuffing, or scraps of leftover yarn.
- Tapestry needle and scissors.
Tension: not critical. Work fairly firmly so the stuffing does not show through.
Abbreviations (UK terms)
- ch: chain
- ss: slip stitch
- dc: double crochet (US single crochet)
- htr: half treble crochet (US half double crochet)
- tr: treble crochet (US double crochet)
- BLO: back loop only
- st(s): stitch(es)
New to these stitches? Our UK vs US crochet terms chart explains each one.
Instructions
The pumpkin body
With orange, make 21 ch, leaving a 20cm starting tail.
Row 1: 1 dc in 2nd ch from hook, 1 dc in each ch to the end. Turn. (20 sts)
Row 2: 1 ch (does not count as a st), 1 dc BLO in each st to the end. Turn. (20 sts)
Repeat Row 2 until you have 30 rows in total. Working into the back loop makes the ridges that become the pumpkin’s segments. Do not fasten off.
Joining the tube
Fold the rectangle in half so the first row lies against the last row. Working through both layers, ss in each st along the edge to join them into a tube. (20 ss) Fasten off, leaving a 30cm tail.
Gathering and stuffing
- Thread the long tail onto a tapestry needle and weave it in and out of the row ends around one open end of the tube, about one stitch in from the edge.
- Pull the tail tight to close that end, like a drawstring bag, and make a couple of small stitches to secure it.
- Turn the tube so the seam is on the inside. Stuff firmly, but not so much that the pumpkin becomes a ball.
- Use the starting tail to gather the other end in the same way and pull it closed.
Shaping the segments
Keep the tail threaded on the needle. Push the needle down through the centre of the pumpkin from top to bottom, then bring the yarn up around the outside and back into the top centre. Pull gently so the yarn sinks into a groove. Repeat five or six times, spacing the wraps evenly around the pumpkin. The more you pull, the squatter and more “pumpkin-like” it becomes. Fasten off at the top.
The stalk
With brown, make a magic ring (see our magic ring tutorial).
Round 1: 6 dc into the ring. Pull the ring closed. (6 sts)
Rounds 2 to 4: 1 dc in each st around, working in a continuous spiral. (6 sts)
Fasten off, leaving a 15cm tail. The stalk does not need stuffing. Sew it to the top centre of the pumpkin, over the gathered hole.
The leaf (optional)
With green, make 8 ch.
ss in 2nd ch from hook, 1 dc in next ch, 1 htr in next ch, 1 tr in each of next 2 ch, 1 htr in next ch, ss in last ch. Fasten off and sew the leaf next to the stalk.
Tip: for a curly vine, make 15 ch with green, then work 2 dc in each ch back along the chain. It will twist into a spiral on its own.
Sizes and variations
- Bigger pumpkin: use chunky yarn and a 6mm hook, or start with 31 ch for a taller pumpkin and work 40 rows.
- Mini pumpkins: use DK yarn and a 3.5mm hook with 15 ch and 24 rows for a pumpkin about 5cm across, perfect for a garland.
- Velvet pumpkins: use a chenille or velvet yarn for a soft, luxurious look. Count stitches carefully, as they are harder to see.
- Neutral harvest set: make three sizes in cream, oatmeal and sage for an autumn mantelpiece that lasts all season.
Ways to use your pumpkins
- Group three sizes together on a tray or cake stand as a table centrepiece.
- Thread mini pumpkins onto twine, with a few crochet leaves between them, for a window garland.
- Add a little loop of yarn to the stalk and hang them from a branch as autumn decorations.
- Use them as quick stall items at a school or church autumn fair.
Troubleshooting
My rectangle is getting narrower
You are probably missing the last stitch of the row. Place a stitch marker in the first stitch of every row and check that you end with 20 sts.
The stuffing shows through
Go down a hook size, or stuff with yarn scraps in a matching colour so any gaps blend in.
The ends won’t close completely
Weave the gathering tail through every row end, not every other one, and pull firmly. A small hole at the top is fine because the stalk covers it.