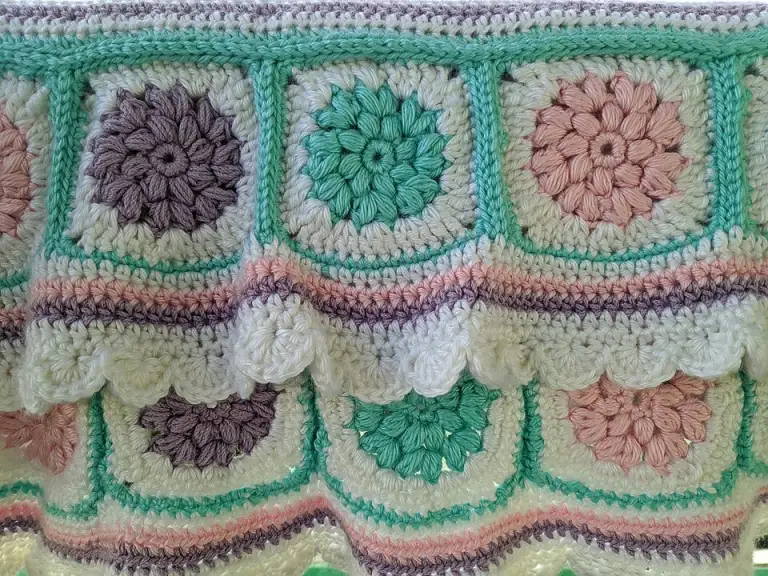
A crochet blanket border is the finishing round (or few rounds) that you work all the way around the outside of a blanket to neaten the edges, square up the corners and give the whole piece a polished look. It hides wobbly row ends, covers colour changes and makes a home-made blanket look properly finished.
Quick answer: A crochet blanket border is a round, or a few rounds, worked all the way around a finished blanket to neaten the edges and square up the corners. The simplest is a round of double crochet (UK terms, US single crochet) with 3 dc in each corner stitch. You can then add crab stitch, shells, bobbles or picots for a decorative finish.
Here is how to add a crochet blanket border to any blanket, whether it is worked in rows, in granny squares or corner to corner. We cover how many stitches to work along each side, how to turn a neat corner, and seven simple crochet borders for blankets with row-by-row instructions. Everything is written in UK terms, with UK and US terms side by side, so readers in the UK, US, Canada, Australia and New Zealand can follow along.
Why add a crochet blanket border?
Most blankets look a little untidy straight off the hook. The row ends along the sides are bumpy, the foundation chain can look tight, and colour changes leave little steps. A crochet blanket border pulls all of that together into one clean frame.
A border also does a practical job. It stops the edges from stretching out of shape in the wash, it gives the blanket a firmer edge to hold, and it is a good place to add a contrast colour that ties a multi-coloured design together.
- It straightens wavy or uneven side edges.
- It hides the ends of rows and colour changes.
- It adds weight and structure, so the blanket hangs well.
- It lets you add decoration (shells, picots, bobbles) without changing the main pattern.
If you are still working on the blanket itself, our easy crochet blanket guide is a good starting point, and every blanket on this site can be finished with one of the edgings below.
UK and US crochet terms used in this guide
We write patterns in UK terms. The same stitch can have a different name in US patterns, so check this table before you start. For a fuller explanation, see our guide to UK vs US crochet terms.
| UK term | UK abbreviation | US term | US abbreviation |
|---|---|---|---|
| chain | ch | chain | ch |
| slip stitch | ss | slip stitch | sl st |
| double crochet | dc | single crochet | sc |
| half treble crochet | htr | half double crochet | hdc |
| treble crochet | tr | double crochet | dc |
| front post treble | FPtr | front post double crochet | FPdc |
| back post treble | BPtr | back post double crochet | BPdc |
| crab stitch (reverse dc) | crab st | reverse single crochet | rev sc |
| yarn round hook | yrh | yarn over | yo |
What you need for crochet borders for blankets
- Yarn: the same weight as the blanket. If you want a contrast colour, choose a yarn with the same fibre and thickness so it washes and stretches in the same way.
- Hook: the hook you used for the blanket, or one size smaller for a firmer edge. The history and basics of crochet are worth a read if you are new to hooks and yarn weights.
- Stitch markers: four, one for each corner.
- Tapestry needle: for weaving in ends.
- Scissors and a flat surface, such as a floor or bed, to lay the blanket out.
Weave in all the loose ends from the main blanket before you begin. It is much easier to hide them now than after the crochet blanket border is in place.
How many stitches to work along each side
This is the part most people worry about. The goal is simple: the crochet blanket border should lie flat, without ruffling (too many stitches) or pulling in (too few). There are a few rules of thumb that work for most blankets, but always check by laying the work flat.
Along the top and bottom (stitch edges)
The top of the last row has proper stitches to work into. Work 1 double crochet (dc; US single crochet, sc) into each stitch. Along the bottom, work into the underside of the foundation chain, 1 dc into each chain.
Along the sides (row ends)
The sides are made of row ends, and how many stitches you need depends on how tall the rows are.
| Blanket worked in | Rule of thumb along the sides |
|---|---|
| dc rows (US sc) | about 1 dc per row; on some blankets 3 dc for every 4 rows lies flatter |
| htr rows (US hdc) | about 3 dc for every 2 rows |
| tr rows (US dc) | about 2 dc per row, worked around the side of the post |
| granny squares or clusters | 1 dc into each stitch and each chain space along the edge, roughly |
These are starting points, not fixed rules. Yarn, hook size and tension all make a difference. After you have worked 15 to 20 cm (6 to 8 in), lay the blanket flat and look at the edge. If it waves, pull back and use fewer stitches. If it cups or puckers, add a few more.
The simple test
Lay the blanket flat on the floor. The edge should sit in a straight line, the same length as the fabric next to it. If you would not be happy with the edge in a photo, fix it now. A crochet blanket border built on a bad first round will only look worse with each round you add.
How to turn a neat corner on a crochet blanket border
Corners need extra stitches so the border can turn without pulling. For a plain dc round, work 3 dc into each corner stitch. Place a stitch marker in the middle dc of each group of three.
On the next round, work 3 dc into the marked centre stitch again and move the marker up. This keeps the corners of your crochet blanket border square and sharp round after round.
For taller stitches, such as treble crochet (tr; US double crochet, dc), many crocheters work (2 tr, 2 ch, 2 tr) into the corner instead. On the next round, work into the 2-ch corner space in the same way.
Preparing your edge: the base round
Almost every crochet blanket border starts with a round of plain double crochet (dc; US single crochet, sc). This base round gives you an even row of stitches to work fancy edgings into.
- With the right side facing, join the yarn in any stitch along one side (not at a corner) with a slip stitch (ss; US slip stitch, sl st). Make 1 ch (does not count as a stitch).
- Work dc evenly along the side, using the counts above.
- Work 3 dc into each corner.
- Continue all the way around and join with a ss into the first dc.
Count the stitches along each side before you begin the decorative round. Many of the edgings below need a particular number, or multiple, of stitches. If your count is a little out, add or skip one stitch in the middle of a side on the next base round so nobody will notice.
New to slip stitches? Our slip stitch crochet guide explains how to join rounds neatly.
Seven crochet blanket border ideas with instructions
Whether you call it a crochet blanket border or crochet blanket edging, the method is the same: a base round, then a decorative round or two.
Each crochet blanket border below is worked in the round after the base round. We note the stitch multiple you need along each side, so you can plan before you start.
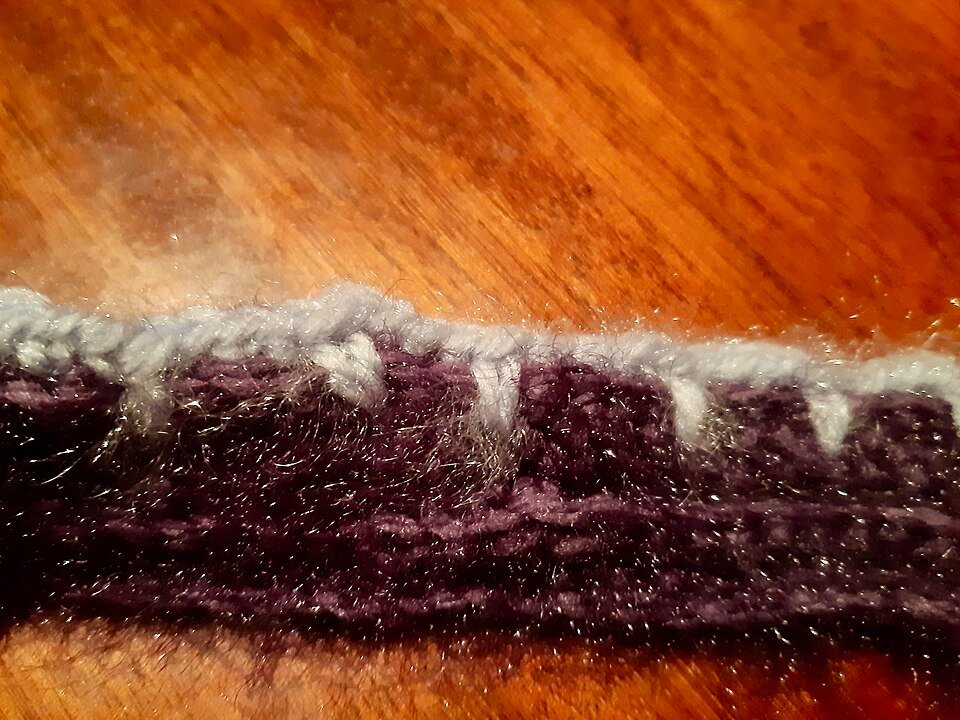
1. Plain double crochet border
Stitch multiple: any number of stitches.
This is the simplest crochet blanket border and the one we reach for most often. It suits striped, textured and granny blankets alike.
- Round 1: work the base round as above, with 3 dc (US sc) in each corner stitch. Join with ss.
- Round 2: 1 ch, 1 dc in each st around, working 3 dc in the centre st of each corner. Join with ss.
- Rounds 3 onwards: repeat Round 2 until the border is the depth you want. Two to five rounds is a good range.
Change colour every round or two for a striped frame. Fasten off and weave in ends.
2. Crab stitch border (reverse double crochet)
Stitch multiple: any number of stitches.
Crab stitch (reverse double crochet; US reverse single crochet) makes a firm, twisted, rope-like edge. It is worked backwards, from left to right if you are right-handed, so it feels odd at first.
- Work 1 or 2 rounds of plain dc (US sc) first. Do not turn.
- Crab stitch round: 1 ch. *Insert the hook into the next stitch to the right, yrh (US yo), pull a loop through, yrh, pull through both loops on the hook; repeat from * all the way around.
- Work 1 crab stitch into each stitch, including the corner stitches. Join with ss and fasten off.
A crab stitch crochet blanket border does not stretch much, so keep your tension relaxed. If a corner looks tight, work 2 crab stitches into the corner stitch.
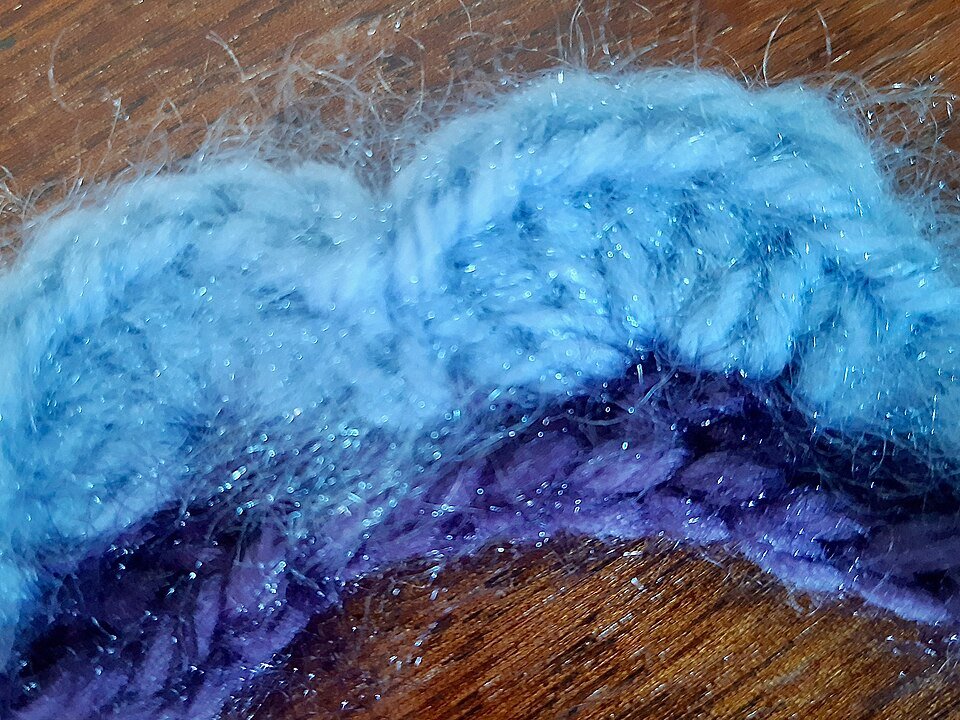
3. Shell stitch crochet blanket border
Stitch multiple: a multiple of 6 stitches plus 1 along each side, not counting the corner stitches.
The shell crochet blanket border is a classic and looks lovely on baby blankets and granny designs.
- Work a base round of dc (US sc), with 3 dc in each corner. Adjust the count so each side between the corner stitches is a multiple of 6, plus 1.
- Shell round: ss into the first stitch after a corner. *Skip 2 sts, 5 tr (US dc) in the next st, skip 2 sts, ss in the next st; repeat from * along the side.
- At each corner: work 7 tr into the corner stitch so the shell fans round the turn, then ss into the next stitch and carry on along the next side.
- Join with ss into the first ss and fasten off.
If your count does not quite fit, skip 1 or 3 stitches instead of 2 once or twice near a corner. Nobody will spot it.
4. Picot crochet blanket border
Stitch multiple: a multiple of 3 stitches along each side.
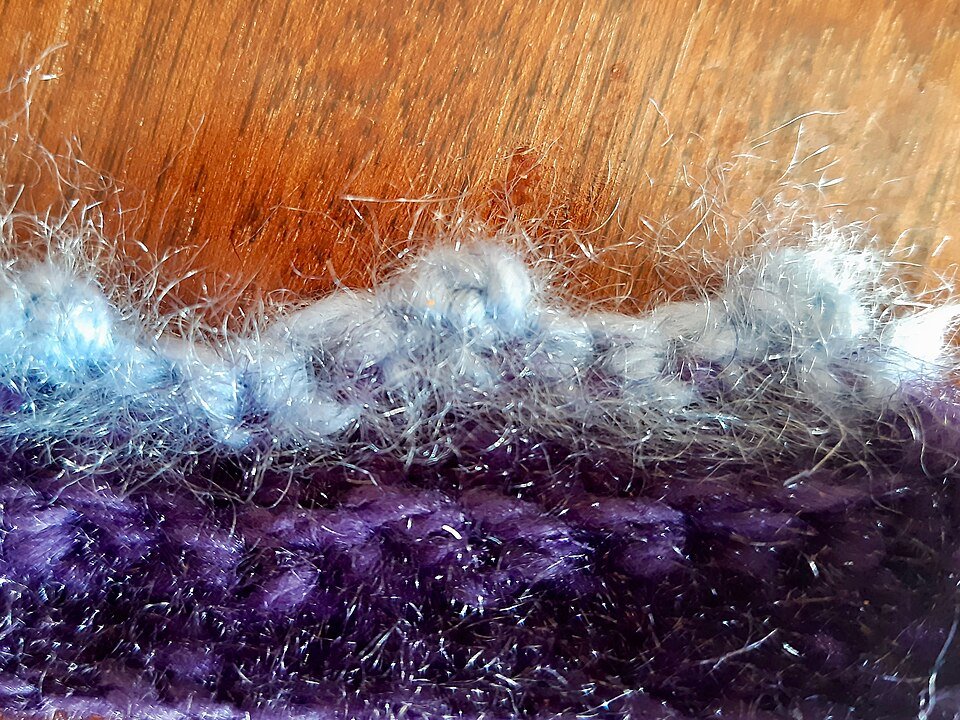
A picot crochet blanket border has tiny loops that sit along the edge like little beads. They give a delicate, old-fashioned finish and use very little yarn.
- Work 1 or 2 base rounds of dc (US sc), with 3 dc in each corner.
- Picot round: 1 ch. *1 dc in each of the next 3 sts, 3 ch, ss into the 3rd ch from the hook (picot made); repeat from * around.
- At each corner, work 3 dc into the centre corner stitch and make a picot straight after, so a picot sits right on the point.
- Join with ss into the first dc and fasten off.
For bigger picots, make 4 or 5 ch instead of 3 before the slip stitch. For more spaced picots, work dc into the next 4 or 5 sts between them and adjust the multiple to match.
5. Scalloped crochet blanket border
Stitch multiple: a multiple of 4 stitches along each side.
This two-round crochet blanket edging makes deeper, rounder scallops than the shell border. It is a good choice for a larger blanket where a small edge would look lost.
- Work a base round of dc (US sc), adjusting so each side is a multiple of 4.
- Round 1: 1 ch, 1 dc in the first st. *3 ch, skip 3 sts, 1 dc in the next st; repeat from * around. At each corner, work (1 dc, 3 ch, 1 dc) into the corner stitch. Join with ss.
- Round 2: ss into the first 3-ch space. In each 3-ch space around, work (1 dc, 1 htr, 3 tr, 1 htr, 1 dc). Join with ss and fasten off.
Here htr is half treble crochet (US half double crochet, hdc) and tr is treble crochet (US double crochet, dc). The corner space gets its own scallop, so the corners round off neatly.
6. Bobble edge (pom-pom style)
Stitch multiple: a multiple of 4 stitches along each side.
Bobbles make a fun, chunky crochet blanket border that looks like a row of little pom-poms. It is a favourite for children’s blankets. If bobbles are new to you, our bobble stitch crochet tutorial walks through the stitch in detail.
Bobble: (yrh, insert hook into the stitch, yrh, pull a loop through, yrh, pull through 2 loops) 3 times into the same stitch, then yrh and pull through all 4 loops on the hook.
- Work a base round of dc (US sc), with 3 dc in each corner. Fasten off and turn the blanket so the wrong side faces you. Bobbles pop out on the side facing away from you, so they will sit on the right side.
- Bobble round (wrong side facing): join the yarn, 1 ch. *1 dc in each of the next 3 sts, 1 bobble in the next st; repeat from * around.
- At each corner, work (1 dc, 1 bobble, 1 dc) into the centre corner stitch.
- Join with ss. Turn back to the right side and work 1 round of plain dc to finish, if you like a smooth outer edge.
Bobbles use a lot of yarn, so make sure you have enough of your border colour before you start.
7. Ribbed front post border
Stitch multiple: an even number of stitches along each side.
This crochet blanket border looks like the ribbing on a jumper cuff. It is thick, stretchy and very hard-wearing, so it suits everyday sofa blankets.
- Base round: 3 ch (counts as 1 tr). Work 1 tr (US dc) in each st around, working (2 tr, 2 ch, 2 tr) into each corner stitch. Make sure there is an even number of stitches along each side. Join with ss into the top of the 3-ch.
- Round 1: 2 ch (does not count as a stitch). *1 FPtr (US FPdc) around the next st, 1 BPtr (US BPdc) around the next st; repeat from * along each side. In each corner 2-ch space work (1 tr, 2 ch, 1 tr). Join with ss.
- Round 2: 2 ch. Work FPtr around each FPtr and BPtr around each BPtr, so the ribs line up. Work (1 tr, 2 ch, 1 tr) in each corner space. Join with ss.
- Repeat Round 2 for a deeper rib, then fasten off.
To work a FPtr, yrh and insert the hook from front to back to front around the post of the stitch below, then complete it as a normal tr. For a BPtr, insert the hook from back to front to back. Each round adds one stitch at each end of every side, so the count stays even. Treat these new stitches as part of the rib, keeping the front and back posts alternating.
Which crochet blanket border suits your blanket?
| Border | Multiple per side | Look | Good for |
|---|---|---|---|
| Plain dc | any | clean, simple frame | any blanket, beginners |
| Crab stitch | any | firm, twisted rope | textured and modern blankets |
| Shell | 6 + 1 | small fans | baby and granny blankets |
| Picot | 3 | dainty little loops | lacy and pastel blankets |
| Scalloped | 4 | deep, rounded waves | large throws |
| Bobble | 4 | chunky, playful bumps | children’s blankets |
| Ribbed front post | even | thick, stretchy rib | everyday sofa blankets |
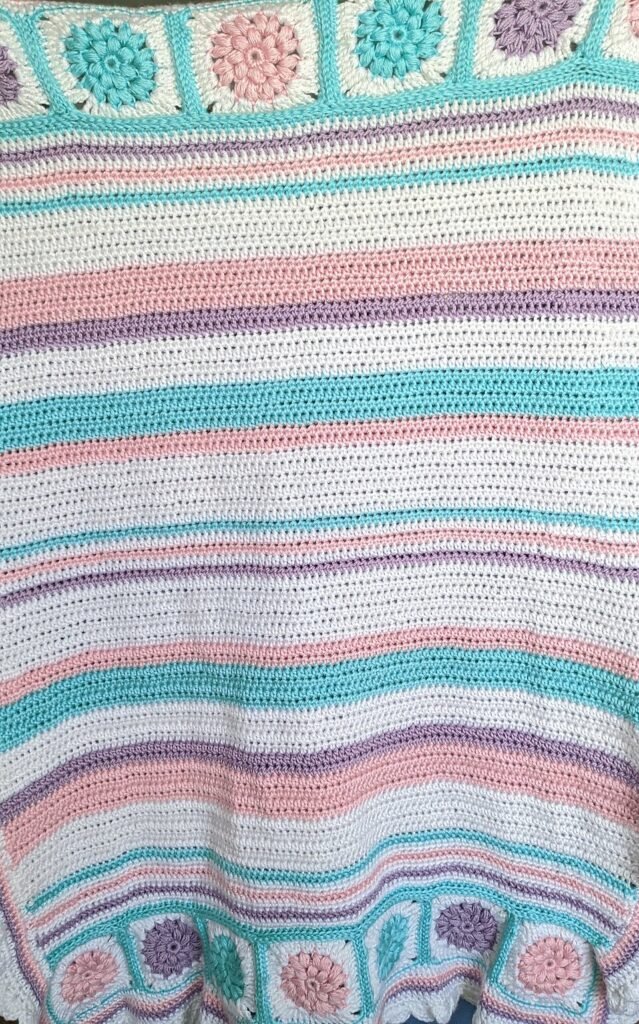
As a rough guide, match the crochet blanket border to the blanket. A busy pattern looks best with a calm edge, such as plain dc or crab stitch. A plain blanket can carry a more decorative edge.
A few pairings that work well on our own patterns:
- The cosy granny stripe blanket looks smart with three rounds of plain dc in a single colour.
- The moss stitch crochet blanket suits crab stitch, which matches its neat, textured surface.
- A corner to corner crochet blanket has stepped edges, so a dc base round followed by a shell or ribbed border evens them out.
- The crochet star blanket is a special case: work a plain dc round, with 3 dc into each star point and a dc2tog (US sc2tog) into each inner dip, so the points stay sharp.
- A crochet newborn blanket looks sweet with a shell or picot edge. Keep picots small and avoid any loose loops that tiny fingers could catch.
Crochet blanket border tips for a professional finish
Choosing and matching colours
A crochet blanket border in one of the main blanket colours always looks tidy. A darker colour frames the blanket and hides wear along the edge. A lighter colour makes the blanket look bigger and softer. If you are unsure, hold a strand of each option against the blanket and look from a few steps away.
Fixing a wavy or rippled edge
A wavy crochet blanket border almost always means too many stitches. Pull back the round and work fewer stitches along that side, for example 3 dc for every 4 rows instead of 1 dc per row. You can also go down one hook size.
If the edge pulls in and the corners curl up, you have too few stitches, or your tension is tight. Add a stitch every few rows, or use a slightly larger hook for the border only.
Blocking your crochet blanket border
Blocking relaxes the stitches and straightens a crochet blanket border. Gently wash or wet the blanket, squeeze out the water in a towel, then lay it flat on towels or foam mats. Pat the border into shape, pin out the shells or picots if you like, and leave it to dry completely. For acrylic yarn, many crocheters steam block instead: hold the steam above the work, never press the iron onto it.
Joining rounds and changing colours
- Join each round with a ss into the first stitch, and start the next round with a ch so the seam does not lean.
- To change colour, finish the last ss of the old round with the new colour.
- Start each round in the middle of a side, not at a corner, so the join is less visible.
- Weave ends back along the border in the same colour, so they cannot show through.
How wide should the border be?
For a baby blanket, a border of 2 to 4 cm (about 1 to 1.5 in) is plenty. For a large throw, 5 to 8 cm (2 to 3 in) looks balanced. A good crochet blanket border should frame the blanket, not compete with it.
Working a mosaic crochet blanket? A dc border is the neatest way to enclose all the row ends.
Frequently asked questions about crochet blanket border
How many stitches should I put in each corner of a crochet blanket border?
For a plain double crochet (US single crochet) border, work 3 dc into each corner stitch, then work 3 dc into the centre stitch of that group on every following round. For taller stitches, (2 tr, 2 ch, 2 tr) into the corner works well.
Why is my crochet blanket border wavy?
A wavy or ruffled edge means there are too many stitches along that side. Pull back and work fewer, for example 3 dc for every 4 rows instead of 1 dc per row, or try a hook one size smaller.
Should I use a smaller hook for the border?
Often, yes. Going down one hook size gives a firmer edge that is less likely to stretch out over time. If your tension is already tight, keep the same hook as the blanket.
What is the easiest crochet blanket border for beginners?
A plain double crochet (US single crochet) border is the easiest. It works on any number of stitches, only needs 3 dc in each corner, and you can add as many rounds as you like.
Do I need to work a base round before a decorative edging?
Yes, in most cases. A round of plain dc (US sc) gives an even line of stitches to work into, and makes it easy to adjust the count to the multiple your chosen edging needs.